We all know that all good crops need good compost to thrive and go on to produce nutritious food. Much like everything with the rising cost of living crisis, compost is right up there as one of the most expensive costs to growers! What if there was a way to reduce how much you need to grow and even have that compost get better over time?
Introducing Hügelkultur
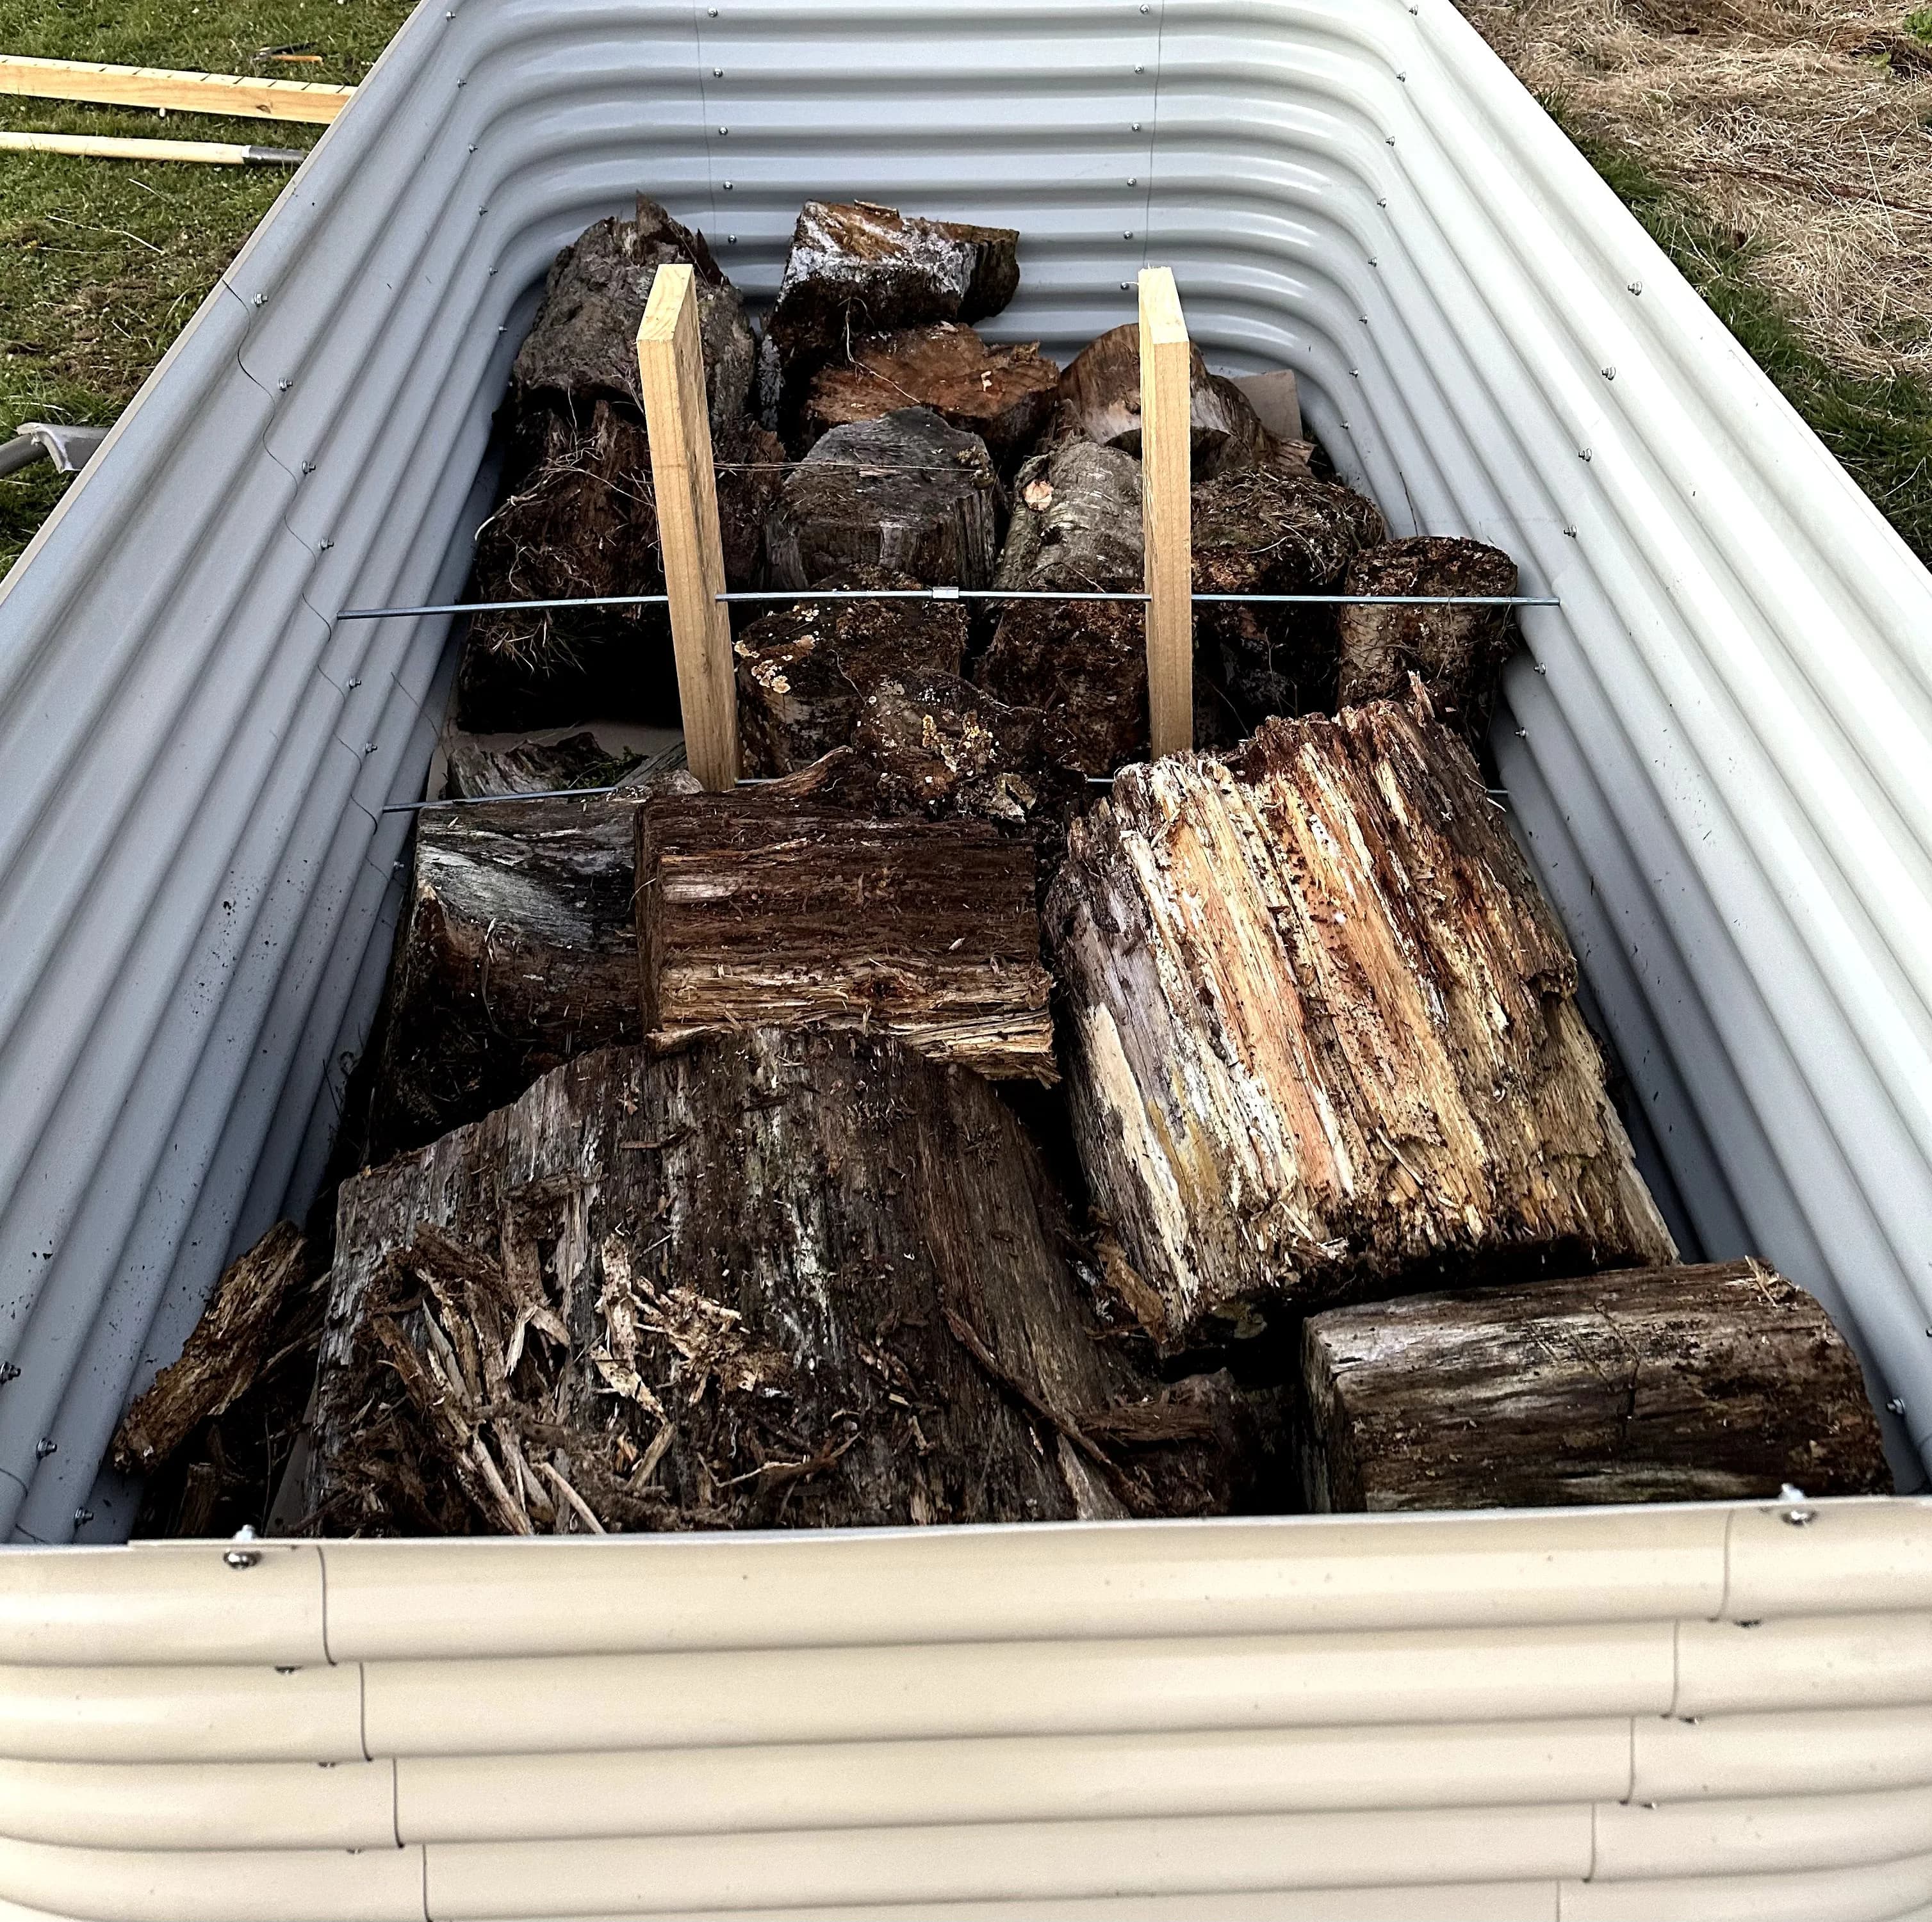
Take advantage of any logs, branches and sticks that are lying around not doing anything and turn it into gold! These logs will take up space at the bottom of your garden bed saving you on precious compost while at the same time decomposing over time to provide better soil fertility!
Some of the key benefits
- Logs at the bottom retain moisture in the soil, during hot days this can save on the amount of watering required
- Material continues to breakdown slowly over time giving back more much needed nutrients and improving soil fertility
- Saves on compost!
- Uses resources you might have on hand already

When you have packed enough logs in start adding smaller branches and potentially if you have any cow or horse manure that is a good addition too you can never be too experimental. Finally apply a small amount of compost to the top layer of your garden bed. In our example we use Birdies raised garden beds as our beds are quite high we need a large amount of compost to fill them and this method is ideal!
Don't have a raised garden bed?
No problem! Just dig a reasonably sized trench with enough depth for the size of your logs and extra material. Then just put some of that soil back on and mound over with a little bit of compost ready for growing.
Make your own compost!
Another easy way to save on bought compost is to make your own! There are many ways to build your own compost from the ground up. We started when we were living in our small apartment in the city with just a tiny 3 square meter balcony.
1. Bokashi Compost
This is a great way to use up any kitchen scraps or food waste that would have otherwise gone into the landfill. This is the method we used on our small apartment balcony. The great thing about this method is the bins dependening where you get them can be quite small and stacked on top of each other. Over time your food scraps break down into a soft mulch like product that can be added to and mixed with regular compost. Additionally it should come with a tap you can extract the liquid which acts as a ferilizer. Great for if you have a small growing area where you may be growing herbs or micro greens. This is a fairly low cost cost method, we paid roughly $30 for a bin that is a one off purchase and should last forever. However it should be noted that for this method to be affective you probably want to get a maze liquid additive spray. It contains citrus extracts which accelerates the fermentation process and removes the bad odours, trust me you do not want bad smells on your balcony.
2. Animal Manure Compost
If you live somewhere with a bit of land and animals did you know that you can turn their waste into gold! If you don't have animals but do have a little bit of backyard space all is not lost. Some farmers or people who own horses will often put signs up on the roadside selling bags of manure for as little as $1 - $2 a bag, some will even offer it for free! You could always take a few strong nylon bags and offer to pick it up for them, you'll be doing them a huge favor! This stuff is often considered the holy grail of compost, you'll quickly have more S**t than you can handle. Like us animals will continue to drop as long as they have food, suplying you with a steady supply of fresh manure for your mound. As your composting worms multiply overtime the process speeds up and your pile will be reduced to rich black compost in no time.
It is worth noting that you should avoid planting your crops directly in this compost. It can sometimes be too acidic at first and destroy your plant roots. We always use this compost at the bottom of the garden bed followed by regular potting mix.

Steps to create your manure mound
- Prepare the Manure: Collect fresh manure and create a pile in a suitable location.
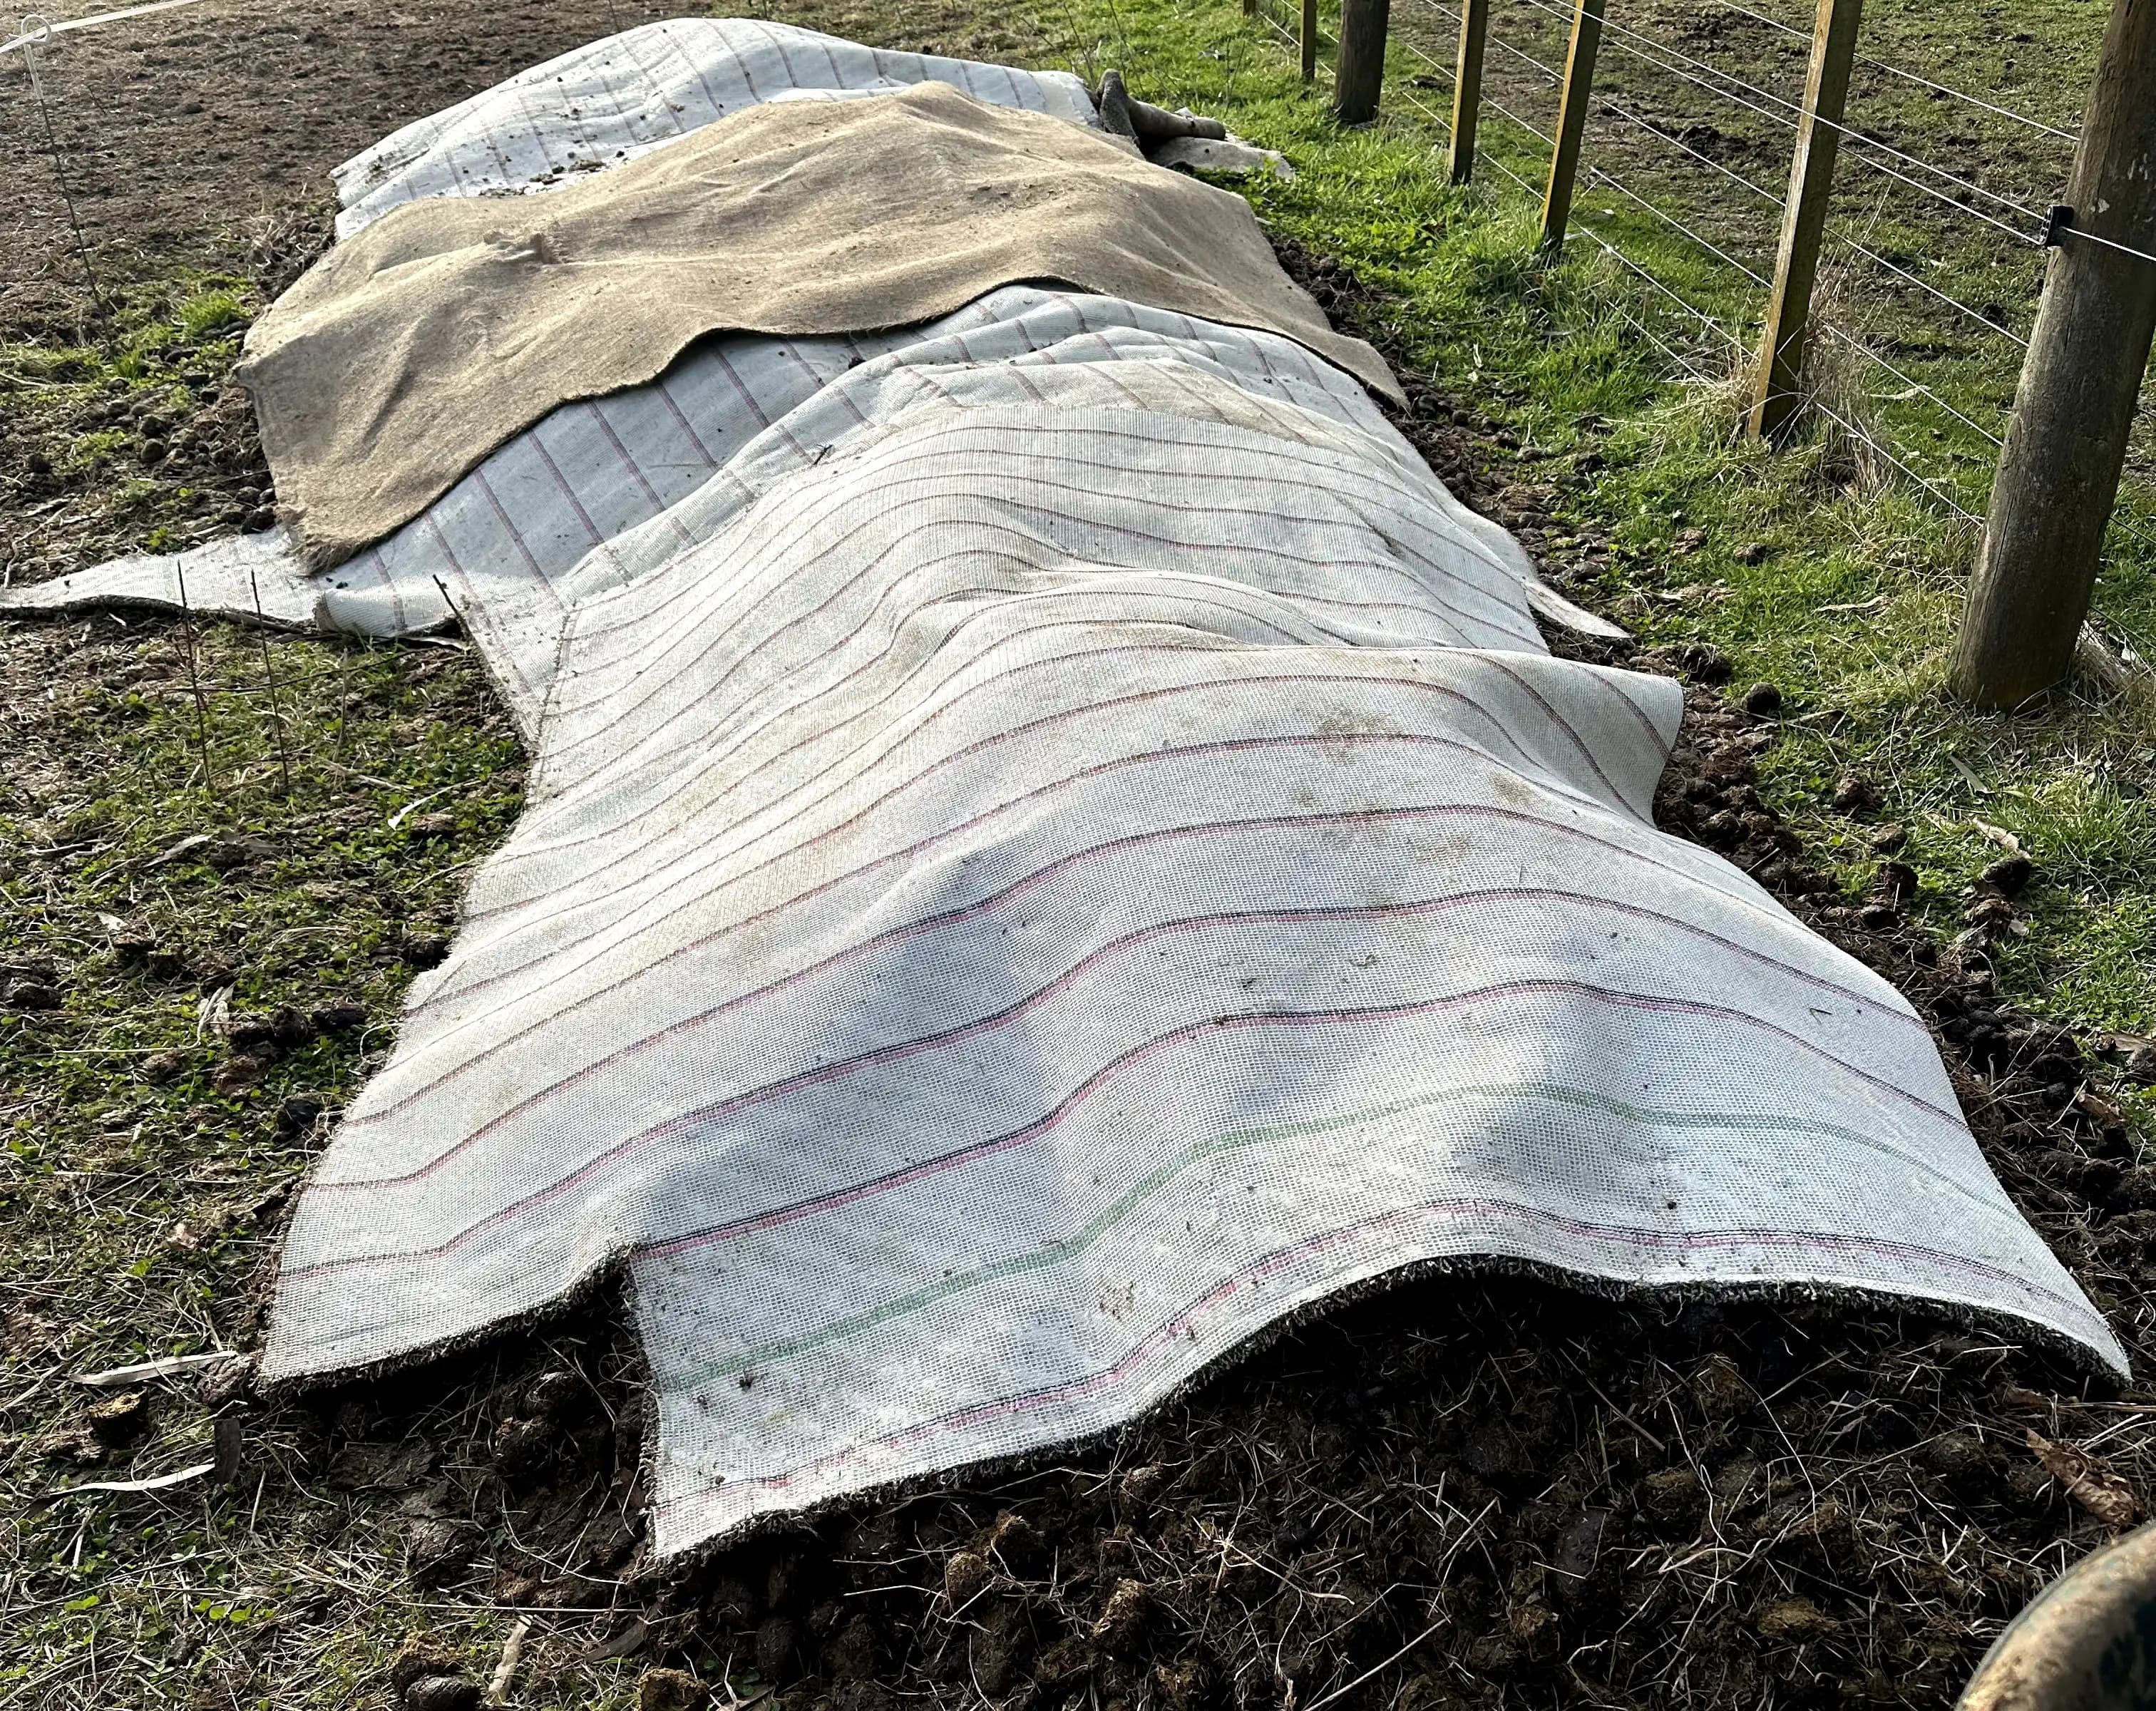
- Cover the Pile: Place old carpet pieces over the pile, ensuring it covers the entire heap. This step is to ensure that the heat stays in and protects the process from the elements. Composting worms like to be warm and don't tolerate the cold too much.
- Monitor the Process: Check regularly to ensure the manure remains moist and covered.
- Turning the Pile: Every few weeks, remove the carpet, turn the pile to aerate it, then re-cover.
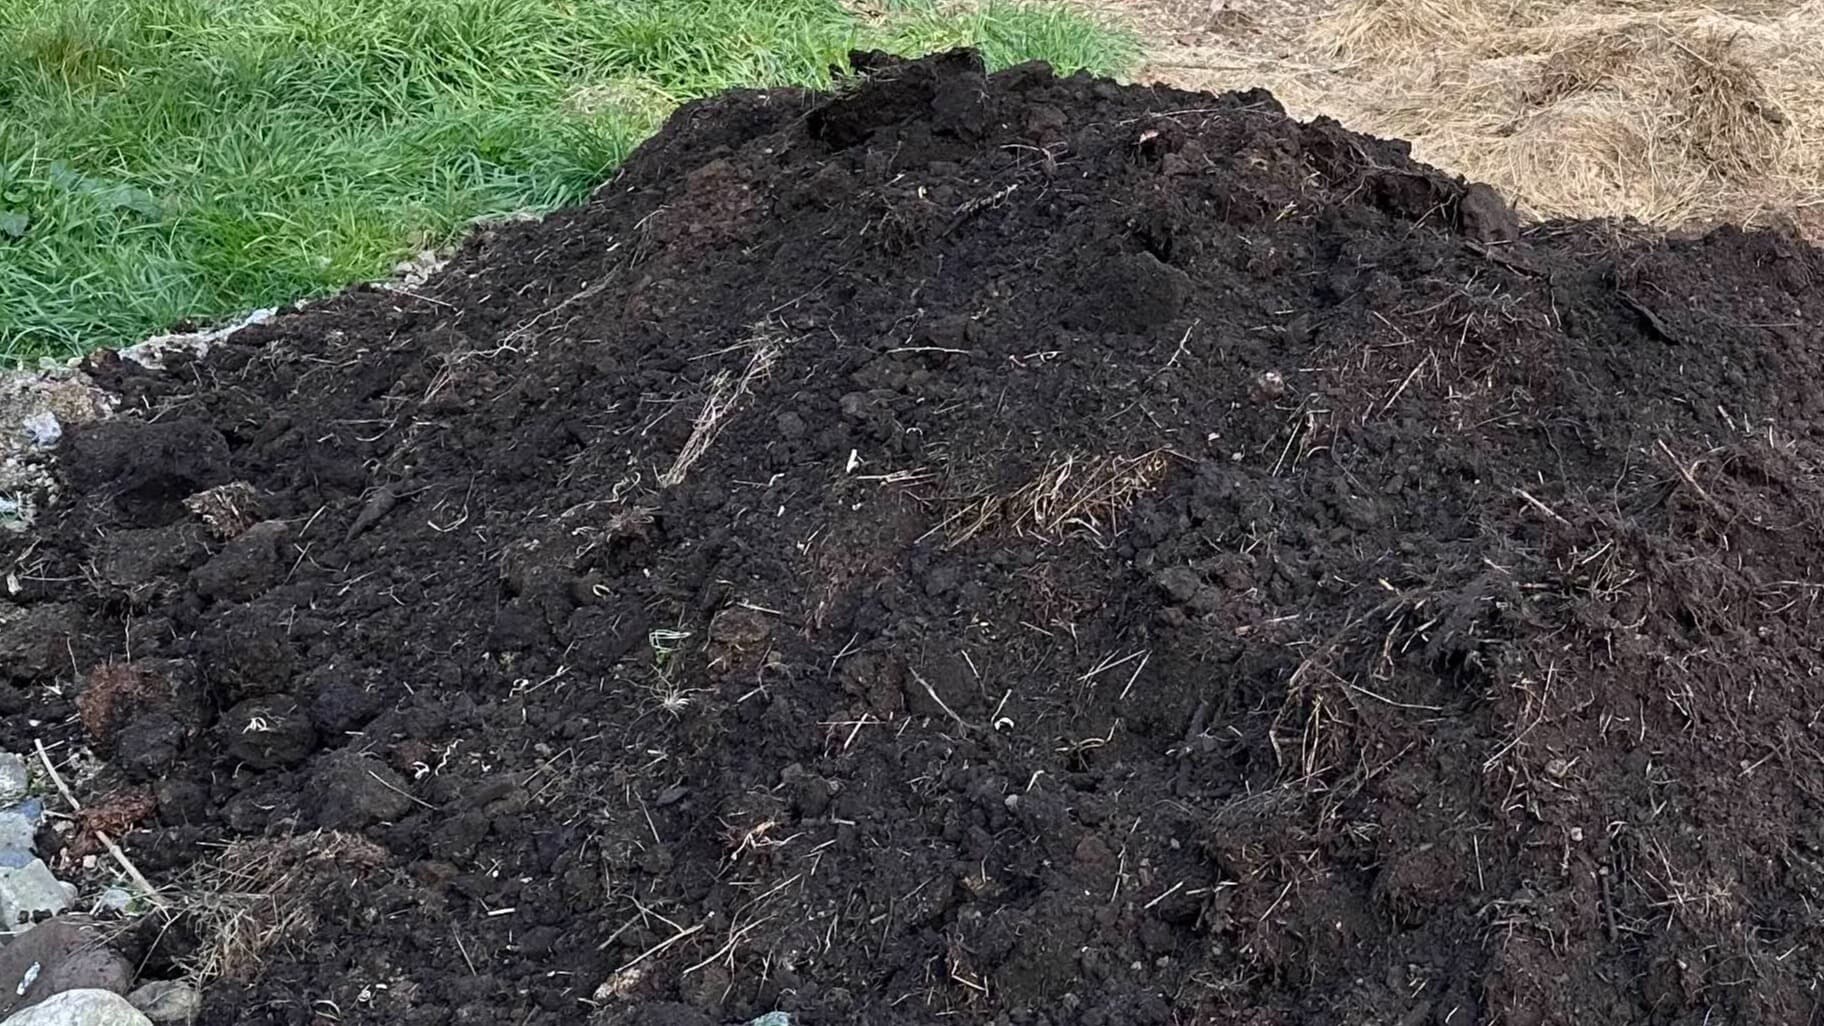
- Harvesting the Compost: After several months, the manure will have turned into rich, dark compost ready to use in your garden.
